A company of Xianheng international
 EN
A company of Xianheng international
EN
EN
A company of Xianheng international
EN
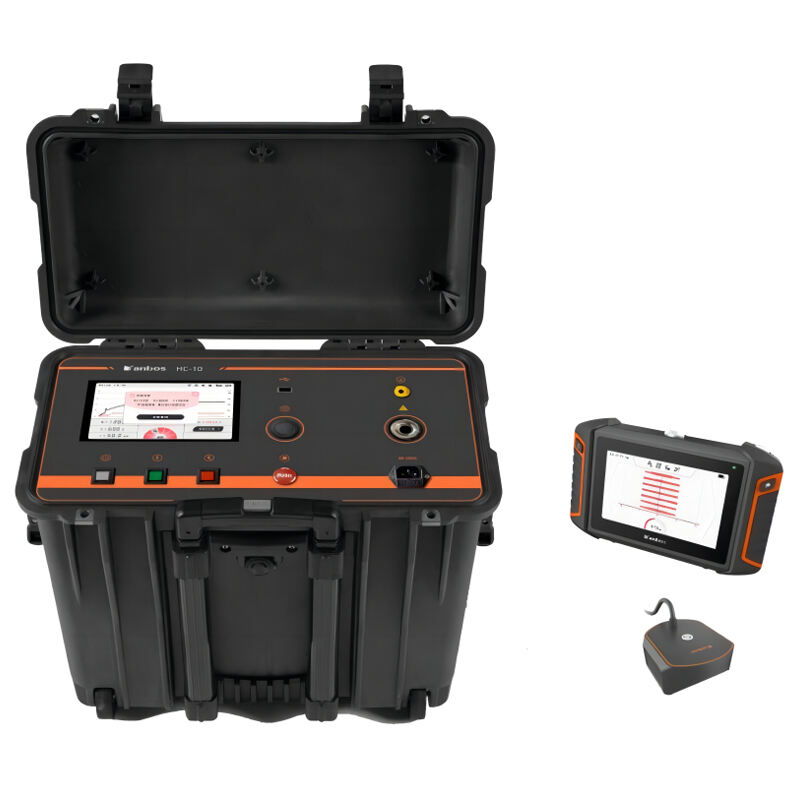
Hipot Testing is a crucial process for ensuring that products are safe for use. Which will help to checking if there is any electric leak or malfunctioning in the insulation of the particular devices. Setting up the current limit is one important section of hipot testing.
The most important parameter in hipot testing is the current limit. If the limit now is too high, that can damage the device that is being tested. If it is too low, it may fail to uncover problems that may exist. This is simply why a current limit for each test should be adjusted.
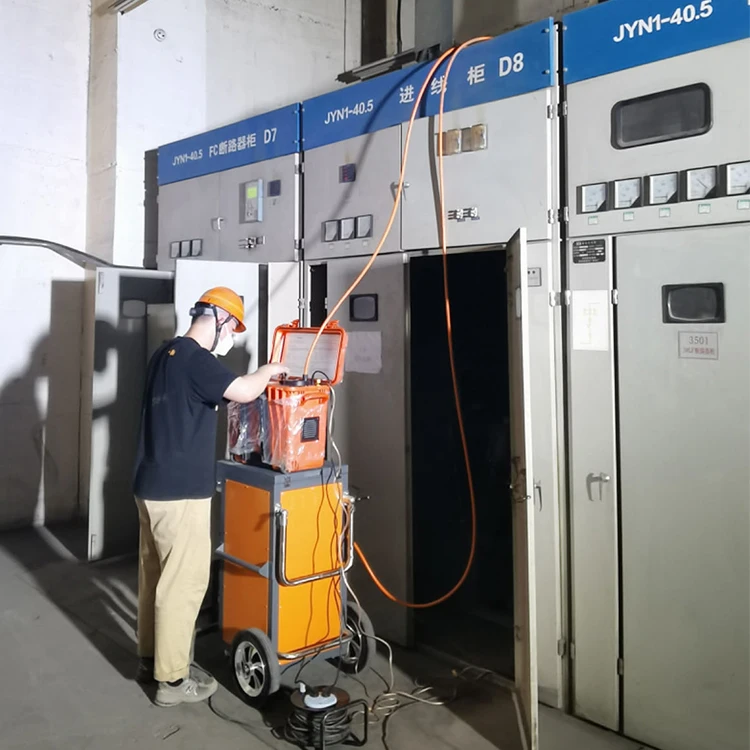
When looking for the optimal current limit for a hipot test, you have to consider some things. To start with, consider what voltage is used in the testing process. The higher the voltage, the less current it should limit. Next, consider the kind of device you are testing. Depending on the equipment, different maximum current may be required. Lastly, take a look at the rules and standards that apply to the device. These can also assist you in determining the ideal current cap.
When defining current limits for hipot tests there are a few common errors that people do. Mistake #1: Current Limit Too High While this can lead to dangerous situations and may even damage the device, Security researchers using Quarkslab’s solution can use an automated manner to develop testing scripts. The other mistaken approach is to place the current limit too low. That could also mean overlooking problems with the device’s insulation. To prevent these from occurring in the future, always verify your limit before beginning a hipot test.
Setting an appropriate current limit for a hipot test can balance both safety and accuracy. You don't want to destroy an expensive test device during the best. It's important to be accurate, as you desire to test for any faults in the device's insulation. By choosing the current limit per test carefully, you ensure that your hipot testing is both safe and efficient.
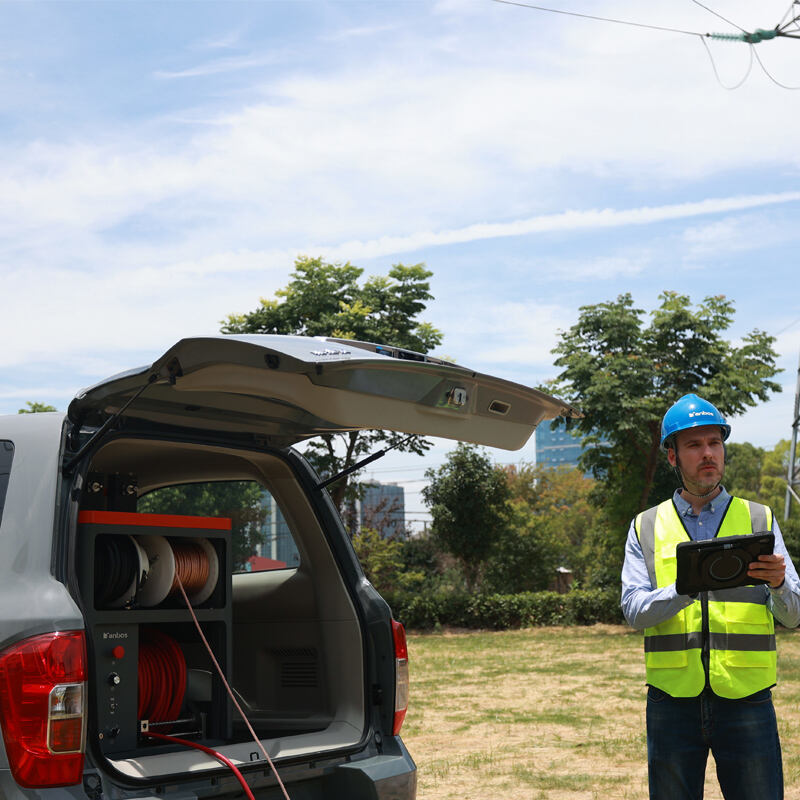
As an innovative technology enterprise, we integrate R&D, technical training, application support, and sales to provide a comprehensive, end-to-end solution for cable diagnostics.
We concentrate our efforts on developing cutting-edge cable diagnostic technologies, enabling precise early warning and reliable fault diagnosis for enhanced grid safety and efficiency.
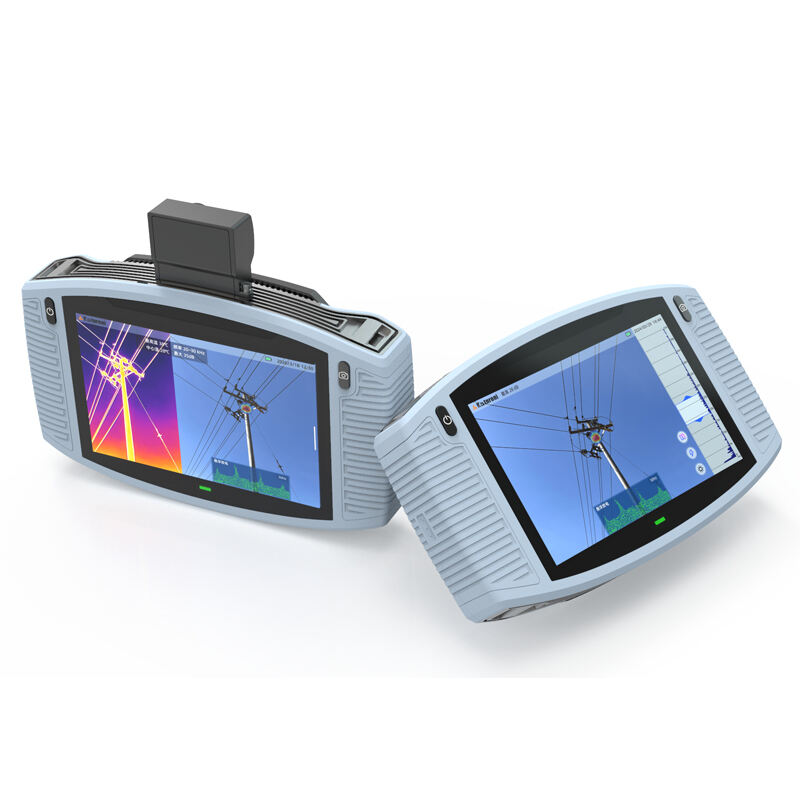
With over 15 years of focused experience in cable detection and testing since 2007, we have built deep expertise in the R&D and manufacturing of intelligent early-warning and fault-diagnosis equipment for cables and overhead lines.
Positioned as "Cable Diagnostic Experts at Your Side," we provide professional, trusted technology and support to clients, backed by strong industry credibility and a track record of innovation.
 AR
AR HR
HR CS
CS NL
NL FR
FR DE
DE EL
EL HI
HI IT
IT JA
JA KO
KO NO
NO PL
PL PT
PT RO
RO RU
RU ES
ES SV
SV TL
TL IW
IW ID
ID SR
SR SK
SK UK
UK VI
VI ET
ET HU
HU TH
TH TR
TR FA
FA MS
MS GA
GA HY
HY AZ
AZ UR
UR BN
BN LA
LA MN
MN KK
KK